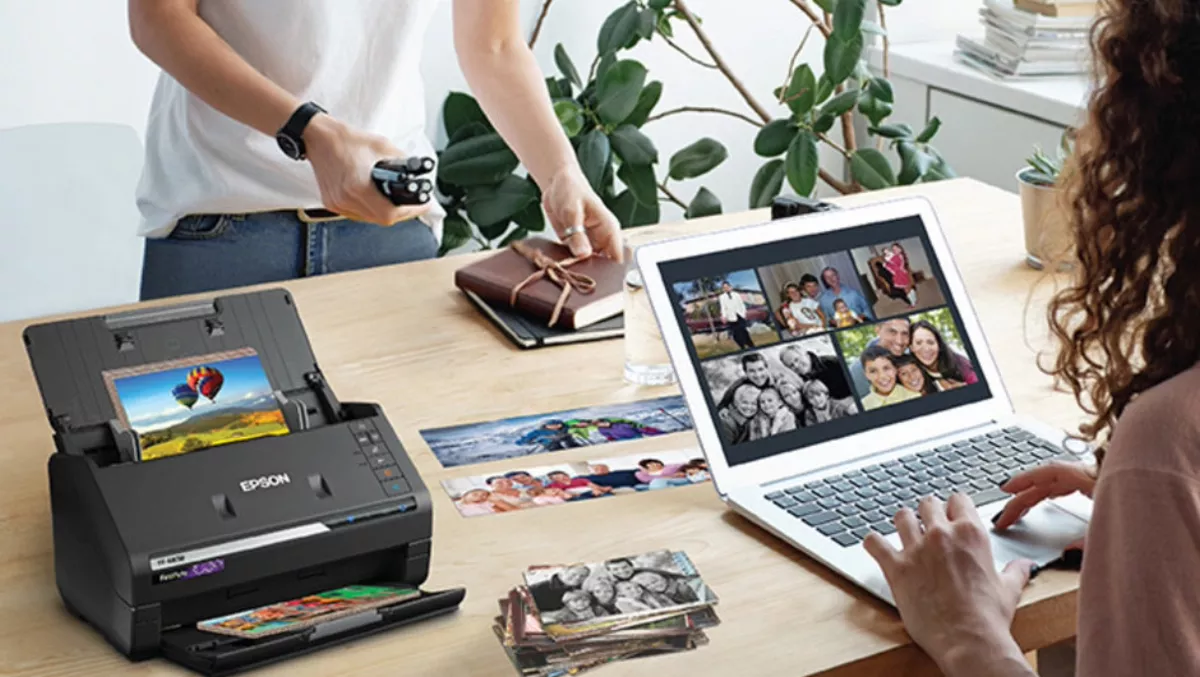
Hands-on review: Epson FastFoto FF-680W
It was a case of serendipity when the Epson FastFoto FF-680W came my way. I'd been putting the task of scanning hundreds of my late parents' photos for some time. What better way to put the FastFoto to use and share the photos with my siblings.
Setting up proved to be a small challenge – I suspect this was caused by dual-channel nature of my network. Instead of using WPS, I attached the USB cable and within seconds I was ready to begin the task of scanning a lifetime of memories.
The FastFoto came with a couple of convenient document carriers, which you can use for scanning normal documents. With photos, I simply stacked them between the adjustable guides. Epson promise a one-second scan for a photo and the photos shot out into the tray at breakneck speed. The process took considerably less time than I took to type this sentence. Stacking the photos in the input tray was the longest part of the process.
The output quality is brilliant. For photos of snapshot quality, you will happily scan at the lower rate of 300dpi and your job will be done in a flash. I scanned photos in a range of sizes. While the guides helped position the photos, having varying sizes in a batch didn't appear to be a problem. A single photo jam was easily cleared.
The instructions say that you will need to keep the scanner clean, and to that end a convenient cleaning cloth is provided. Epson also market their own cleaner, but be sure to read the instructions carefully.
You control the scanner wirelessly from the FastFoto app which you download onto your Windows or Mac OS. I did both, and found little difference between systems. Besides your photos, the FastFoto can also scan a range of other items, including plastic cards, laminated card, business cards, plain paper documents, and will handle a range of papers from 37 to 413 g/m². It will cope with a variety of sizes from 2.0 x 2.0 in to 8.5 x 240.0 in (215.0x 6,096.0 mm and 50.8 x 50.8 mm).
Not Just for Photos: Epson NZ's website adds that you can "Scan and archive important documents like receipts, tax records, wills and more. It contains powerful OCR (Optical Character Recognition) technology that automatically converts files to searchable PDFs or editable formats such as Microsoft Word or PowerPoint." Sadly, I didn't have time to test these options, but I did try the FastFoto software on MacOSX and Windows 10. I also had to scan my driver's licence and was rewarded with an A4-sized image, back and front.
I loved the batching process, which has enabled me to organise a lifetime of snapshots from both me and my late dad. I experimented with all three scanning resolutions and found naturally that 300dpi made scanning super-fast.
I scanned one batch of over 50 snapshots at the maximum setting of 1200dpi – this made scanning slower, but still relatively fast, compared to the old-time scanners.
One great feature was the ability to automatically save to my Photos app on the Mac. Adding the FastFoto snapshots to my already considerable catalogue was easy as FastFoto simply added a new default album where all scanned images are saved.
FastFoto's editing tools made cropping, sharpening, and deleting red-eye a simple matter, and just as simple to use as the controls in Photos. Using Google Drive, I was able to share different batches of Photos with different family members. I haven't totalled how many photos I scanned, but it was conservatively over a thousand.
The feeder seemed happiest if I loaded up around 50 snapshots at a time. I was also able to considerably reduce the effect of overexposure in some snapshots. FastFoto has an enhancement mode which will save two photos, one enhanced and one "normal." The auto-enhanced image is a good starting point. I didn't even have to resort to using Photoshop or Gimp, as the editing tools provided all the adjustments I needed.
The FastFoto is destined to become a "must-have" for those of us with huge stocks of printed photographs to digitise. The Settings menu in the FastFoto app means that you control the quality of the output, as well as the file, batch and album names. You can also include dates, years or decades.
With a handy upload feature, which will upload to chosen cloud drive, you will be set when it comes to sharing your albums with your family and other users. I used the drag-and-drop method to copy batches to my Google Drive. It marks a quantum leap from any other photo scanner I have ever used.
Simple in layout and function, it packs the punch of a professional scanner and will prove an invaluable tool for anyone needing to archive large quantities of photographs.
For more information about the Epson FastFoto FF-680W, click here.


